Saturday, June 14, 2025

I Pick You! by Janet

Hello crafty friends! I'm so excited to share my latest creation for the Blossoms & Blooms Challenge! This challenge was the perfect excuse to dive into my Art Impressions stash and combine some of my favorite floral sets to create a truly special handmade card.

This card brings together several Art Impressions goodies:

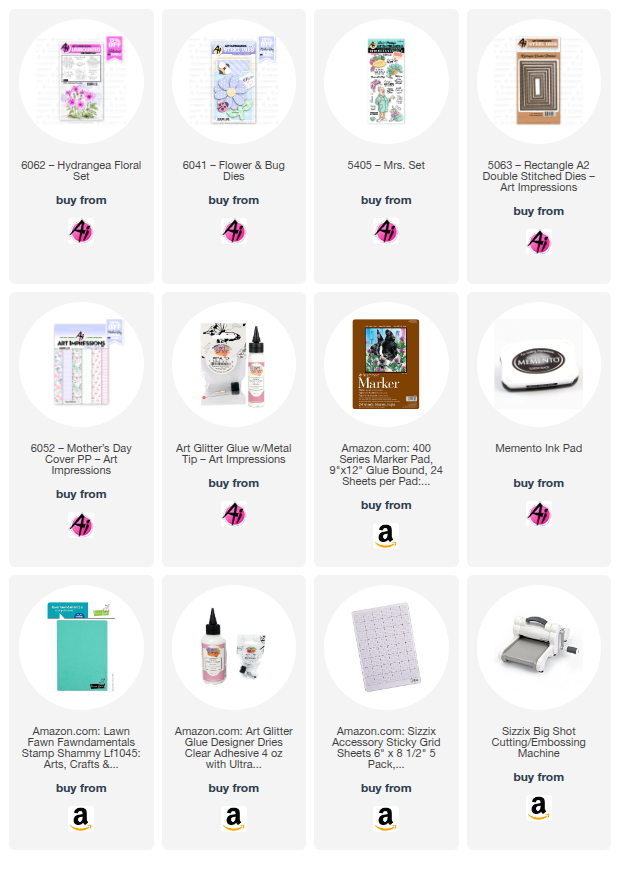
  • 5405-Mrs. Set: For the perfect floral sentiment that compliments my floral friendship card.
  • 6041-Flower & Bug Dies: I used this set to create the charming daisy, adding a touch of cheerful simplicity to the design. The versatile bee is also part of this set.
  • 6062-Hydrangea Floral Set: You'll spot delightful pansies from this versatile set, adding layers of beautiful blooms.
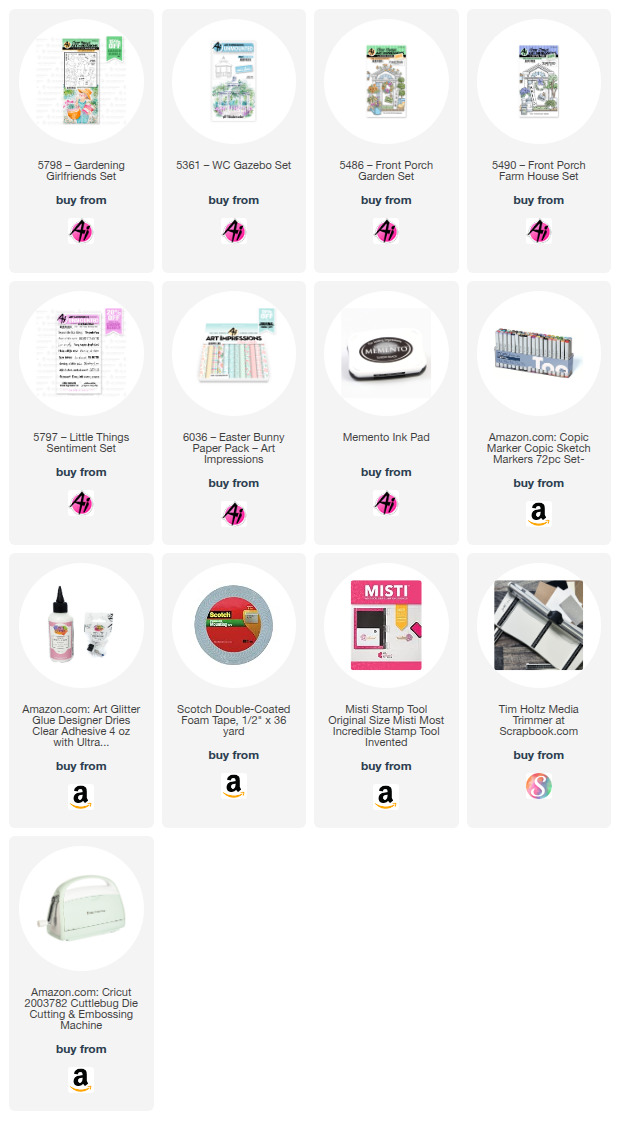
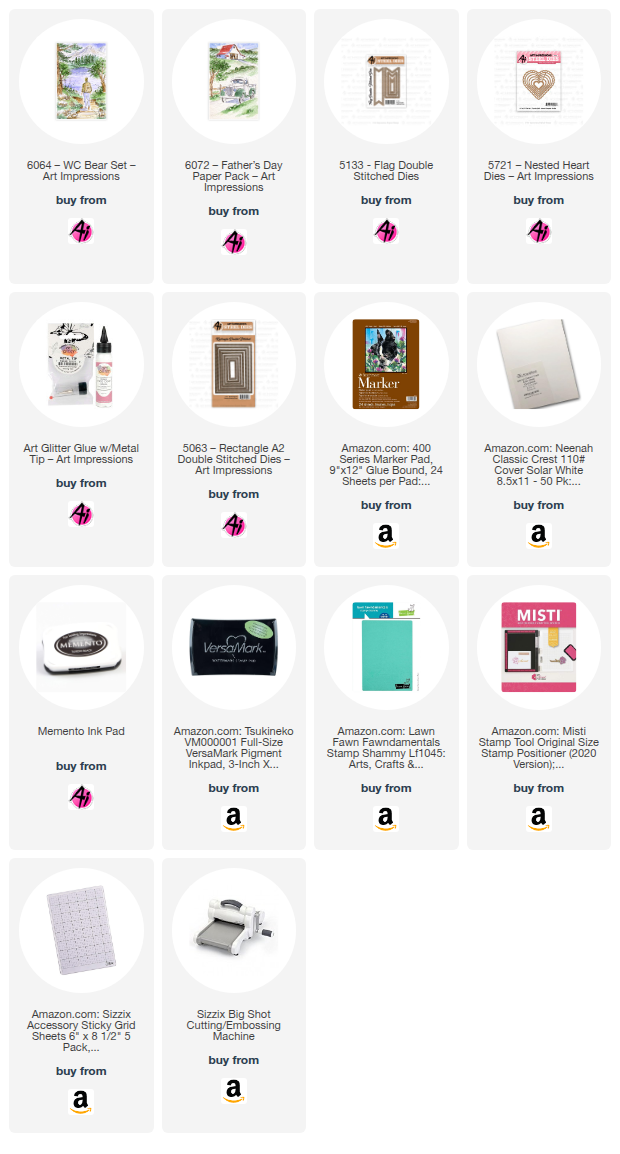
  • 5721-Nested Heart Dies: This set helped me create the lovely heart shape that serves as a focal point, symbolizing love and warmth.
  • 5063-Rectangle A2 Double Stitched Dies: Two nested rectangle dies were used to create the stitched frame that helps to draw the eye into the pansy flowers. I used another die to cut the paper used inside my card.
  • 6052-Mother's Day Cover Paper Pack: The beautiful patterns from this pack provided the ideal backdrop, adding a touch of elegance and cohesion to the whole design

I began by using the 5063-Rectangle A2 Double Stitched Dies to cut my card base layers from coordinating cardstock and the lovely patterns from the 6052-Mother's Day Cover Paper Pack. The patterned layers always add such a nice touch!

Next, I focused on the florals. The daisy and bee from the 6041-Flower & Bug Dies anchor the card. Pansies were stamped on a layered heart made with the 5721-Nested Heart Dies. The pansies come from the 6062-Hydrangea Floral Set. I colored the daisies with Copic markers. I love how these sets work together to build a full, lush floral theme to the card.

The sentiment, chosen from the versatile 5405-Mrs. Set, was stamped on a tag that is part of the 6041-Flower & Bug Dies.  

Layering all these elements with a mix of adhesive and foam tape created depth and dimension, making the flowers and sentiment really pop against the patterned background. I also used Nuovo Crystal Drops on the daisy center. While it was still wet, I sprinkled clear glitter on top to add a little more shine.

This is a top fold A2 card. Inside I cut a piece of patterned paper from the 6052-Mother's Day Cover Paper Pack with another die from the 5063-Rectangle A2 Double Stitched Dies. I stamped the inside sentiment from the 6062-Hydrangea Floral Set. I really love the script that these sentiments are in. Quite lovely!

I truly enjoyed participating in the Blossoms & Blooms Challenge and bringing this floral vision to life. It's amazing how many beautiful combinations you can create with Art Impressions' diverse product line! Be sure to enter your own floral card in our challenge. You might be rewarded with a free stamp set for your efforts!

Please stop by the Ai Store for all your card making needs. Until next time, happy creating!

Janet YouTube - Blog - Facebook - Instagram - Pinterest    

Friday, June 13, 2025

For the Beary Best Dad! card by Tasha

 Happy Friday, Art Impressions friends!

Tasha here, and I’m excited to share a beary sweet Father’s Day card using the adorable new 6064-WC Bear Set and 6063-Just For Him Set; just in time for Sunday!

For this card, I started by stamping the baby bear first, then masked him off so Papa Bear could stand behind him; just like a big bear hug moment! With both bears masked, I brought the background to life using the 4960-WC Fir Trees Set(these trees are one of my favorites!). I stenciled yellow clouds and added yellow ink to the trees to give the effect of sunshine streaming through; so warm and cheerful!


To frame the scene, I used the 5135-Hexagon Double Stitched Dies for a fun focal point. The sentiment “Dad, You’re the Beary Best!” combines a greeting from the Bear Set and the word “Dad” from the Just For Him Set; plus a cute little paw print for extra charm!

I finished the card with layers of green, white, and gray cardstock and a fun tree print from the new 6072-Father’s Day Paper Pack.

Hope you all have a wonderful day!


Thursday, June 12, 2025

Blossoms & Blooms Challenge #405 Week #2

Hello Ai fans and welcome to week #2 of our 
Blossoms & Blooms challenge!

Our Featured Designer was Dori and she created this incredible flower pot!


Sharon "planted" her girlfriends in front of a gazebo for this amazing card.


Lynn has a video tutorial for her beautiful floral banner card.


I created a card for a friend going through a difficult time.


Tasha's birds are enjoying the blossoms on her tree branches on this lovely card.
Dori also created a "blooming awesome" window card!

Gennette joined in this week with one of my favorite's...Black-eyed susans and of course, a bee!


The next two cards are from our fabulous Guest Designers, Sara and Simone.


Simone used a no longer available 5875 Throwback Iris for her card, but we share because we know some of you have it and will love the inspiration. Check out Gennette's card below Simone's for a wonderful, current set, that is a great substitute.


Here's Gennette's pretty card that uses Irises similar to Simone's.
6061 – Tulip Floral Set.


We hope you're enjoying all of the Blossoms & Blooms going on wherever you live.
Thank you to our AMAZING Design Team members for all of your hard work and creativity.

Be sure to enter your handmade floral project for the chance to win a free stamp set from Art Impressions.

✻ Please make a new card or handmade crafty creation. You can make any item you wish; this is not limited to cards! (unless specified)

✻ Limit two submissions per person.
 ✻Please include your first name and last initial on your submission. You may include your entire last name, but it's not necessary.
✻We love to comment on your entries, but keep in mind if you use a private group or a platform that you need to sign up for, we probably won't be able to.
✻ The Ai Challenge is open to everyone, international submissions are welcome!
✻ Include a link back to the Ai Blog or grab our button on the top right of our sidebar!
✻ Share the Ai love if you can, by clicking and commenting on your fellow crafters.
✻ Make sure to get your link up by the deadline to enter your creations.
✻ Good luck and happy stamping! 

Father's Day Cubs by Dori Mendiola

 Happy Thursday AI Friends!

Thanks for joining me today!  I thought I'd share a couple of Father's Day cards I made for a few of the men in my life.  I used the #6064 - WC Bear set and the #6072 - Father's Day PP for both cards but changed the layouts.   


I started by stamping the images on copic friendly paper with Memento black ink and colored with my copic markers, listed below.  I then fussy cut each of the bears and cubs.  For the little girl cubs, I stamped the little girl panda from the #6017 - Baby Panda set and fussy cut the bow from her hair. 
 
For the top card, I die cut the pattern paper panels using the #5063 - Rectangle A2 Double Stitch die set.  I also cut a couple of trees from dies in my stash.  I popped up the Papa bear and the littlest cub with foam tape and placed onto the background pattern paper.  I stamped the sentiment from the #6063 - Just for Him set onto an oval die cut using the #5727 - Nested Oval dies.  I finished this card off with a couple of red hearts to add color and love. 

For this card, I used a postage background die for the base and placed pattern papers within each square.   Everything else is basically the same as the top card, but just wanted to show how different they can look by using different backgrounds.

I hope you enjoyed my cards today and they inspire you to create a few for the men in your lives.

Have a great day and keep creating!

Copics used:  R20, R22
E50, E51, E53, E55, E57

Wednesday, June 11, 2025

Using Banner Dies to Create a Unique Background by Lynn Dionne

 Happy Wednesday Ai Fans!!!

Watch video tutorial here!!!

Let's use our banner/flag dies to create a unique and easy background for our card! We will use the Ai Flag Double Stitched Dies (5133) to create the little banners in two different sizes. For papers, we will be using the Ai Easter Bunny Paper Pack (6036) which has lots of florals, dots, stripes and plaids and will give us a nice variety of patterns and colors for this background. This is also a great way to use up all of your little paper scraps in a fun, new way!

This card was inspired by the current Ai "Blossoms and Blooms" Blog Challenge which is to create card or project that includes floral stamps, papers, embellishments, or anything else floral that you might like!

Once we have die cut the banners from a variety of papers, we can then cut a piece of white cardstock at 5 1/4" x 5 1/4" and start adding the banners. To line up the banners, I found it easiest to mark the center of each side of the white cardstock with a pencil (on all four sides) and then line up the larger floral banners by centering the "V" shape of the banner with that center pencil mark. Next, we can add the smaller banners to fill in between the larger ones. I will show you this easy way to line up these banners in today's video.

Next, we will cut the circles for the center of the card using the Ai Circle Double Stitched Dies (5064). This will give us that nice, stitched border which will coordinate nicely with the banner/flag dies.

Now we can stamp the teacup and spoon from some pattern papers. I'll show you how to cut and layer these in the video.

Let's stamp the "BEAU-TEA-FUL!" sentiment using the Ai Valentine Bears Set (5005) and center it on the top portion of the white circle.

Now we can layer up the card and attach the teacup and spoon and pop-up the circles with some dimensional 3D foam squares. For a bit of sparkle let's add some pretty clear, iridescent drops around the card. These are perfect because they won't add any color but will tie everything together nicely!

For a finishing touch, we can add a pretty mint green rose from the Tim Holtz idea-ology Heirloom Florals collection!

Here is the other video I mentioned in today's video using the Ai Tea Time Set to create a pretty Mother's Day Pocket card:


Thank you so much for joining me today!  Have a fun and crafty day!

Tuesday, June 10, 2025

He will make a Way by Reneé Matarese

Hello Ai fans.
I have a co-worker going through a difficult time.
She's a very spiritual person so I created this card for her.
Several of us are planning to sign it. She likes purple so I used some of
the new floral paper with purple in it.


My card is perfect for the current Blossoms & Blooms challenge, which is simply to use flowers.

I love all of the decorative dies from Art Impressions.
They help make such elegant cards.


I cut three of the fences and glued them together to make it a little
sturdier because I have it popped up on foam tape to add some dimension.


Copic T2
Twintone Pale Purple & Lime Green
Marvy No. 18 Dark Brown


Monday, June 9, 2025

Hi Friend by Sharon Caudle

 Hello AI Fans!!

I have a card for you today that goes along with the current challenge Blossoms & Blooms. If you haven't checked out Dori's amazing creation for her feature for this challenge, please do yourself a favor and click HERE to see it. It's jaw dropping gorgeous and so creative!

I don't know if you've noticed I've really been using a lot of Girlfriends images for the past several challenges! And here I am again, LOL! This time, I used 5798 Gardening Girlfriends Set. I stamped the image onto a Copic friendly paper, and then again on a piece of masking paper. After carefully placing the mask over my Girlfriends, I inked up 56361 WC Gazebo Set, and stamped it offsetting it a little behind the ladies. I love this technique cause it never fails to amaze me how it looks when I remove the mask. After I colored up the image, I chose a couple flower bunches from the Front Door Line of stamps and colored them. After fussy cutting them out, I placed them on the image so it looked like they were in the pots the Girlfriends are holding. I also placed an extra pot in the lower corner of the image. 


So that's it for me today! Thanks so much for stopping by for a visit today and until next time - stay crafty!! 
Copics used:
E000, 00, 04, 11, 19, 33, 35, 37, 40, 41, 42, 43, 44, 97, and 99
R02, 81, 83, and 85
G24, 28, 43, and 46
V20, 22, and 25
BG45 and 49
Y26, 32, 35, and 38
B00
W2, 4, and 6
C1 and 2


Sunday, June 8, 2025

Spotlight on Dad and Beautiful Blooms by Gennette Houghton


Welcome to Watercolor Weekend! I am loving all of the new releases that Art Impressions has come out with lately. From the masculine sets that are perfect for Father’s Day coming up, to the beautiful florals that are great for any occasion. The 6069 Outdoorsman set was originally released as the May Throwback, but due to popular demand it was added into the everyday line. Since I have both hunters and fisherman in my life, I chose this set for my first card.


I first stamped in the fisherman in N49, stamping off once, on watercolor paper. I then created a mask before stamping in the scene.  Since this set is rubber I used my stamping platform and a piece of acetate to help me position the scene where I needed it. After getting it lined up where I wanted it, I then inked it in N49, stamping off once before adding it with the fisherman.  Bonnie did a wonderful tutorial on this set in monochromatic, I was trying to decide how I wanted to color this. Then I came up with the idea to do both monochromatic and color, highlighting the fisherman.  Using a template that is 2 3/4 x 4 1/4 I traced in my guidelines and masked off the edges with post-it tape. I used a mixture of 565 and 969 throughout the monochromatic scene, using different strengths of colors. For the pine tree in the foreground to the right I used the 5954 Woodland Bears Set. For the smaller pine trees in the background I used 5010 WC Tree Set 1, I used full color on the ones in front and for the ones in back I stamped them off once before adding them to the scene.  I also used 5826 WC Large Tree Set 2 for the grass, and 4960 Fir Tree Set for the largest pine, using the largest 2 of the pine boughs. I then went over any of the stamped foliage with a damp brush to blend and soften.  


Now to spotlight the fisherman in color. For the hat I used 228 and 969. 879 for the hair. 992 for the vest. The shirt I shaded with 565 first, then I used 177 to put in the vertical and horizontal lines, I filled in every other square to create a plaid look.  For the pants I used 977, and the boots I used 249 with a little 947. The brown Twintone was used on the fishing pole, however, a stuff toucher had taken off with my pencil and instead of looking for it I grabbed the gray Twintone for the line. It’s a little thicker than I would like, but still works.  Don’t worry, I found my pencil and dutifully chastised the offender. LOL! Honestly, I am just glad it wasn’t my scissors!! (I’m not laughing, you are laughing!) I then matted my card with paper from the 5606 Harvest Journal Paper Pack, and matted my image with 2 different shades of green to finish off my card. 


For my 2nd card I used several new sets, first I used 6062 Hydrangea Floral Set. Black-eyed Susan are one of my favorite wild flowers here, I always look forward to seeing them scattered throughout our fields.  I am so happy to see green here again and all of the beautiful florals after a pretty cold winter.  I stamped my image again in N49, stamping off once, on watercolor paper. For the pedals I used 055 first, starting from the center I then added in 025 and pulling up into the pedal. 026 was used for the shading.  For the center I started with 947, and going around the outside with 969. I used 879 to shade around the edge and to define the center from the pedals.  126 and 177 was used on the stems and leaves, darkening the areas under the flowers and behind overlapping leaves.  526 was used in the background. 


For the large flower I used the recently released 6041 Flower and Bugs Dies, it is a great stand alone set as well as it’s intended purpose for decorating the 5811 Gift Card Pocket. I cut out 2 sets of pedals, the center, and the elements for the bee, and the tag, all out of mixed media paper.  I colored both sets of pedals with 055 and 025. For the one that would be going on top, I darkened the center with 947. For the center piece of the flower I used 947, 969, and 879.  The bee I colored the main body with N15, the yellow stripes I used 055 and 025, shading the sides on both to give it dimension. I shaded the wings with 565.  I then stamped the sentiment from the same floral set onto the tag with black ink.
 

I matted my card base with paper from 5838 Fall Paper Pack. Taking some solid card stock in green and dark rust, and some vellum, I used the new 6047 Scalloped Squares. I used the largest die on the green card stock, and cut down my die cut piece to fit up in the corner. Counting from the largest down, #4 was used to cut out a piece of vellum, #5 for the rust colored cardstock, and #6 to cut out the floral image.  I also used a flower shaping kit to round out the pedals, center, and the bee.  I then assembled everything together and mounted them on my card. I used foam tape on the bee and the top layer of the flower under the pedals to give some dimension, and the center piece. On the tag I also used some copper ink around the edges and used a lacey ribbon. I wanted the ribbon to lay flat, so I attached it with a stapler.  Thank you for joining me today, and I hope you enjoyed my cards! Until next time, Create….Share….Inspire! 


Saturday, June 7, 2025

Celebrate Dad With The New Masculine Bear Set by Janet

Hey everyone! Get ready to be excited, because Art Impressions has been at it again, and they've recently added some truly fun new products to their lineup! Today, I'm absolutely thrilled to feature two of these fantastic new stamp sets and a gorgeous new paper pack with my card.

For this project, I've used the adorable 6064 - WC Bear Set, the versatile 6063 - Just For Him Set, and the perfect-for-the-occasion 6072 - Father's Day Paper Pack.

The WC Bear Set is just too cute! It's designed for watercolor but you can use your favorite medium like I did. The bears have so much character! I immediately envisioned a cozy, masculine scene, and this set delivered perfectly.

Then there's the Just For Him Set. This stamp set is a treasure trove of sentiments that are absolutely perfect for celebrating the men in our lives – not just for Father's Day, but for birthdays, appreciation, or just because! The variety in this set makes it incredibly versatile. I combined Happy Father's Day and Dad for the inside of my card

And let's talk about the Father's Day Paper Pack. Oh my goodness, the patterns in this pack are fantastic! They're masculine without being overly specific, offering a great range of designs from classic plaids and woodgrains to subtle textures that really complement any masculine card. I love how cohesive and easy it makes pulling a card together.

For my card, I started by cutting out a rectangle using the Rectangle Double Stitched Dies. This provided a lovely framed space for my main image. For the focal point, I chose the standing bear from the WC Bear Set and stamped a sweet little cub right next to him. I colored both bears in warm browns with Copic markers, giving them a wonderfully cuddly and gentle look. Once they were colored, I lightly brushed Tumble Glass Oxide ink around them to create a soft sky background. Below the bears, I used more warm gray markers to create the look of land, and along the top edge of the land, I colored in some dark green grass.

I paired this charming colored image with a card background created using two sheets from the Father's Day Paper Pack. I made a mat with one of the patterned sheets. Then, I flipped the leftover piece over and cut a narrow strip from the subtle woodgrain pattern on the other side – a great way to use up scraps! I cut a smaller mat with the tree pattern from the paper pack and layered all these pieces together as shown on an A2 card base.

The sentiment I chose from the Just For Him Set was "You're the Beary Best," and I stamped it on a flag cut with a die from the Flag Double Stitched Dies set. I tucked this sentiment flag just below the bears. To add a final touch of embellishment, I cut two hearts from the Nested Heart Dies set and layered them, one below and one above the sentiment flag.

I truly think the combination of the rustic papers and the sweet bear Dad and cub, along with that perfect sentiment and those little heart embellishments, makes for a truly heartfelt card for any dad!

I'm so impressed with these new releases from Art Impressions, and they make creating masculine cards a breeze. I encourage you to check them out and get creative for the special men in your lives! Please stop by the Ai Store this weekend. They have everything you need – stamps, dies, papers, and accessories – to bring your creative ideas to life!

Happy crafting!

Janet YouTube - Blog - Facebook - Instagram - Pinterest